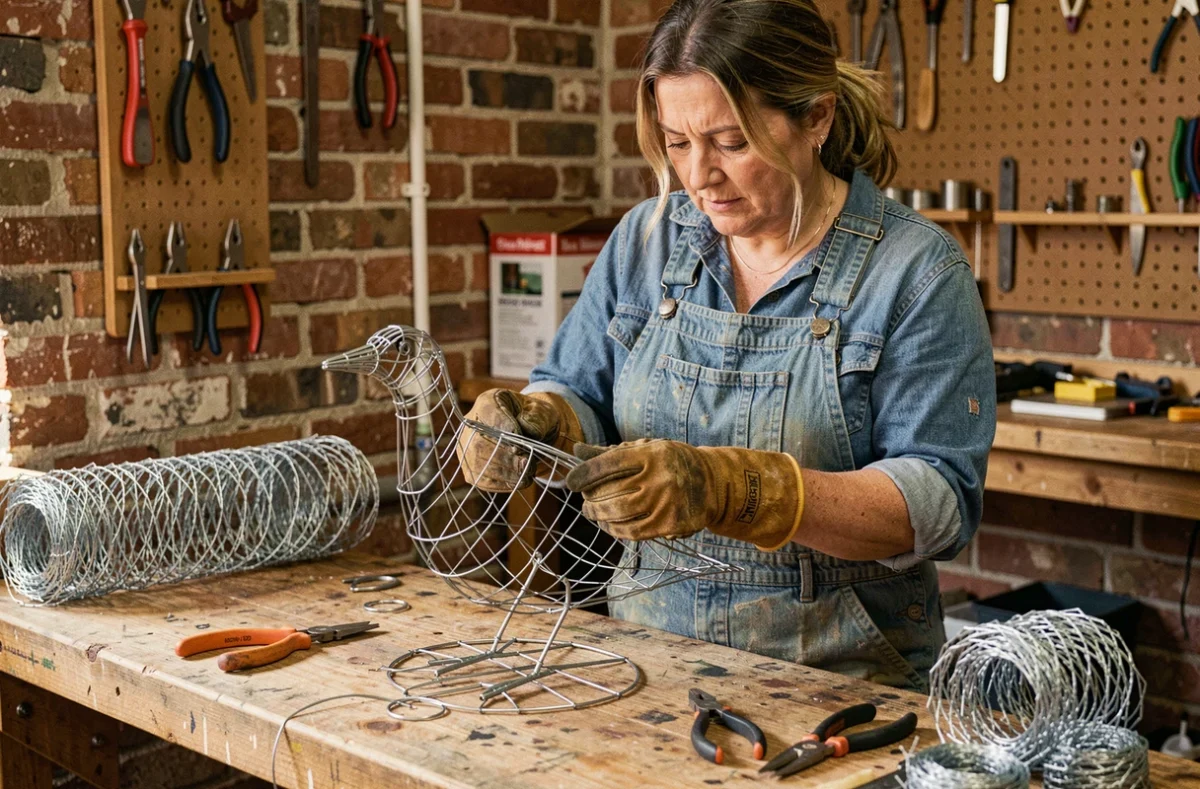
Hexagonal chicken wire, welded wire, and fine mesh are not worked in the same way. Creating sculptures from wire requires choosing the right mesh from the start, as the rigidity of the frame, ease of shaping, and durability over time depend directly on it.
Galvanization and durability of wire: what changes for an outdoor sculpture
A wire labeled “galvanized” does not guarantee a uniform level of protection. Technical sources distinguish between pre-weld galvanized wire and post-weld galvanized wire. In the first case, the weld points are less well protected: the zinc melts locally during assembly, and bare steel is left exposed.
For a sculpture intended to remain outdoors, this difference is crucial. You should ask the seller when the coating was applied. A post-weld galvanized wire offers more uniform protection across the entire piece, including at the joints.
The design of the sculpture itself plays a role. Water that stagnates in hollows, horizontal surfaces, or closed corners accelerates the degradation of zinc, even on a properly galvanized product. Freshly assembled surfaces that remain damp, without air circulation, can develop white deposits (zinc oxide). Limiting water pockets and promoting natural drying extends the lifespan of the frame.
A dull gray appearance is not a sign of degradation. Zinc naturally forms a gray patina when exposed to air and moisture. In contrast, red rust spots indicate that the steel is locally exposed, which requires intervention (varnish, resin, or replacement of the section).
We recommend combining the paper mache wire techniques on Zam Création with an appropriate surface treatment if the piece is to remain outside all year round.
Choosing wire and cutting tools for wire sculpture
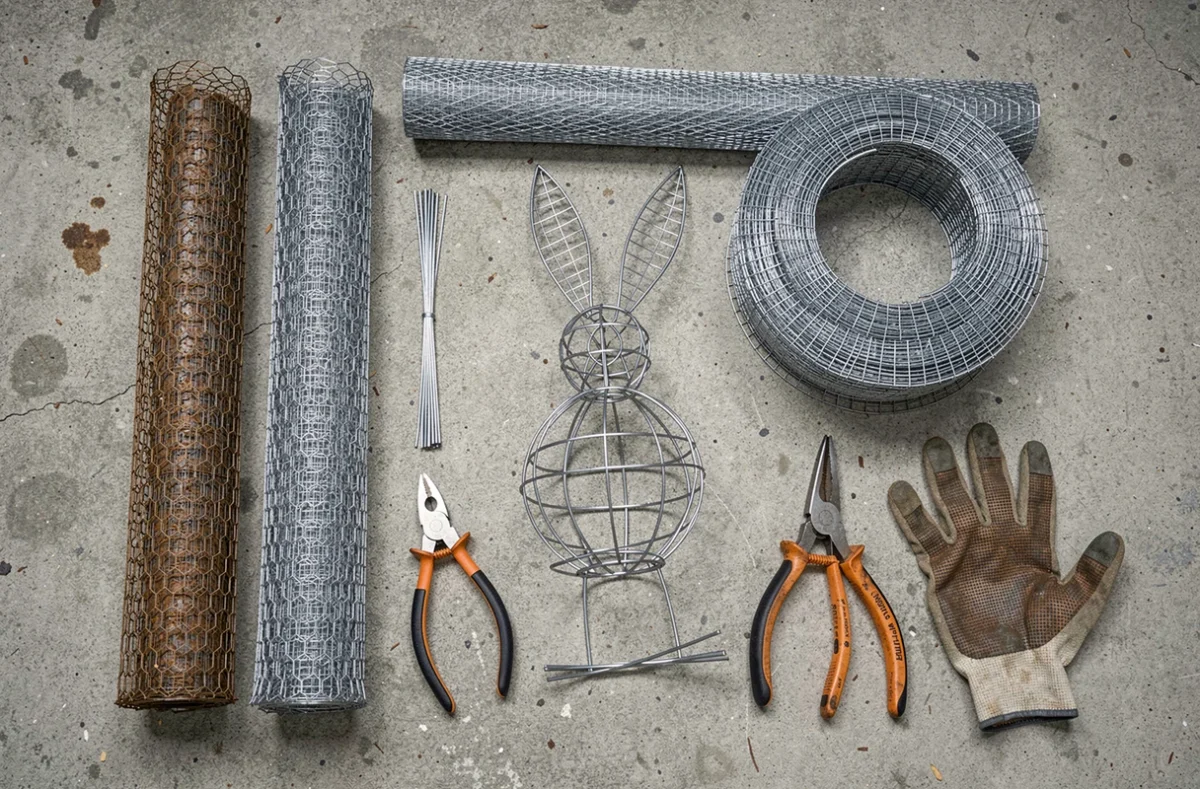
Chicken wire (hexagonal mesh) remains the most commonly used material in beginner sculpture. Its flexibility allows for the formation of organic curves, faces, and animal silhouettes without excessive effort. The downside: it lacks structural rigidity for larger pieces.
Square mesh welded wire is better suited for geometric structures or large internal frames. It deforms less but is difficult to bend by hand. For medium-sized sculptures, a compromise is to use welded wire for the internal skeleton and chicken wire on the surface for detailing.
Materials needed to get started
- Galvanized chicken wire with fine mesh (the size of the hexagons determines the precision of shaping, with a tight mesh offering more control over details)
- Annealed wire for connecting pieces, which is more flexible than rigid galvanized wire and easier to twist with pliers
- High-quality cutting pliers (electrician’s pliers are suitable, but a specific wire cutter prevents fatigue during long sessions)
- Flat pliers or round-nose pliers for bending, folding sharp edges, and forming attachments
- Thick cut-resistant gloves, preferably made of leather or reinforced Kevlar fabric (the edges of cut wire are sharp and can cause clean cuts)
The cutting pliers are the tool that determines work comfort. An undersized plier forces you to exert effort, deforms the mesh, and tires the wrist in a few minutes. It’s better to invest in a lever or ratchet model.
Frame and shaping: key steps for a stable sculpture
The strength of a wire sculpture relies on its internal frame. Without a rigid skeleton, the piece deforms under its own weight or with the slightest impact.
Building the frame
Starting from a sketch, even a rough one, allows you to cut the wire pieces to the right dimensions before assembly. The structure is built in sections: head, torso, limbs, base. Each section is formed separately and then connected to the others with wire.
Do not skimp on wire at the joints. This is the weak point of any wire sculpture. Each connection should be twisted several times, and the ends folded inward to avoid sharp points.
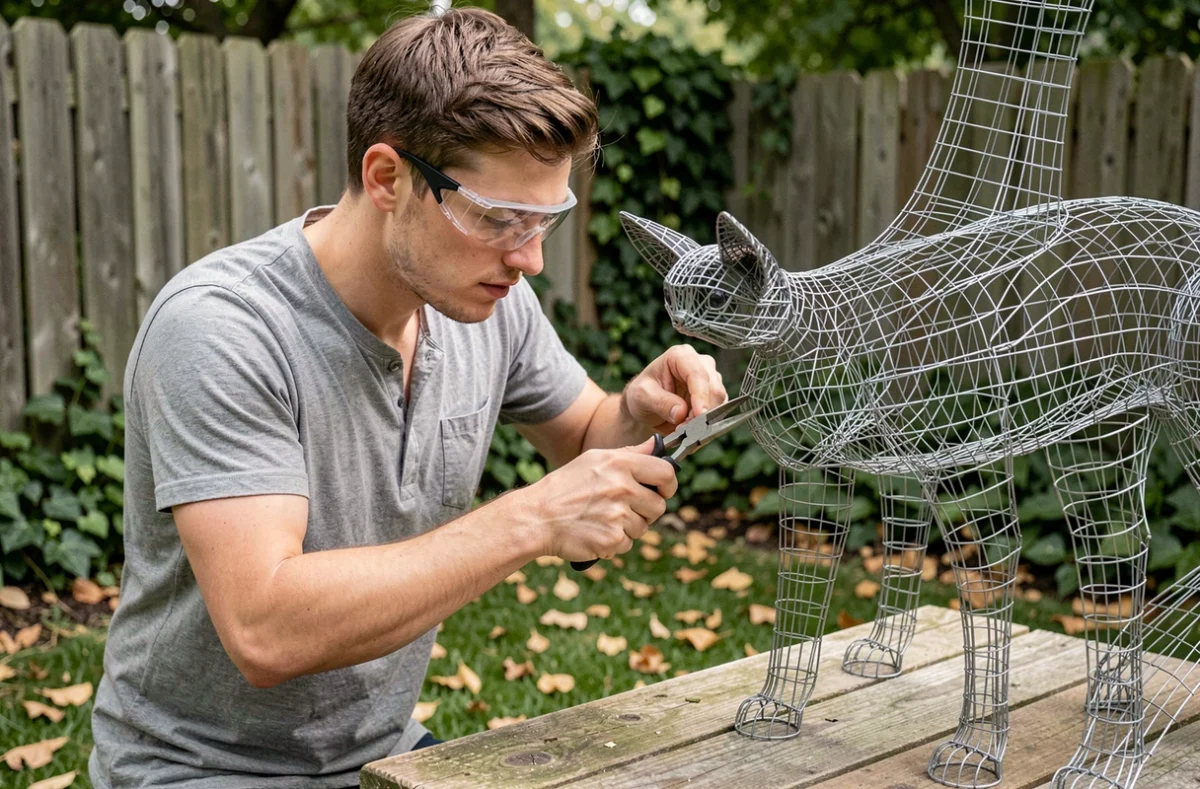
For large pieces, reinforcement with threaded rod, PVC pipe, or wood can serve as a backbone. The wire then dresses this supporting structure. This technique is common for float decorations or stage installations.
Covering the structure
Raw wire constitutes a sculpture in its own right, but many projects plan for a covering of paper mache, plaster, or cement. Paper mache (strips of newspaper + wallpaper glue) is the most accessible: lightweight, inexpensive, and easy to sand once dry.
Plaster provides a smoother and sturdier finish but adds weight to the piece. Cement, reserved for permanent outdoor sculptures, requires a very robust frame to support the load.
Finishing touches and common mistakes in wire sculpture for beginners
Painting should only be done on a perfectly dry surface. On paper mache, expect several days of drying depending on thickness and ambient humidity. Apply a primer (gesso or white acrylic paint) before the final color to even out the finish.
Three mistakes are consistently made by beginners:
- Underestimating the amount of wire needed. Curves and volumes consume much more surface than a flat calculation suggests. Allow for a generous margin.
- Neglecting cut edges. Each edge of cut wire is a potential blade. Always fold the wires inward, even in non-visible areas.
- Working without gloves. Cuts from wire are fine, deep, and can easily become infected. Wearing cut-resistant gloves from start to finish of the project prevents most injuries.
Wire sculpture tolerates shape approximations better than most other modeling materials. A bump can be corrected by pressing, and a hollow can be fixed by adding a piece of wire on top. This flexibility makes it a particularly suitable medium for learning about three-dimensional volume.